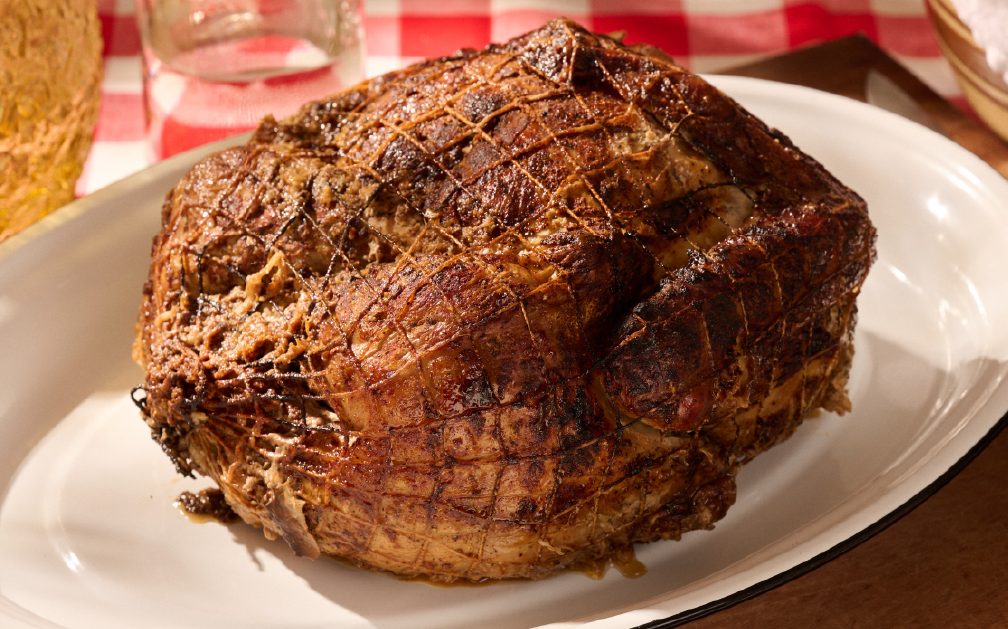
First Things First: Why Sear Your Meat?
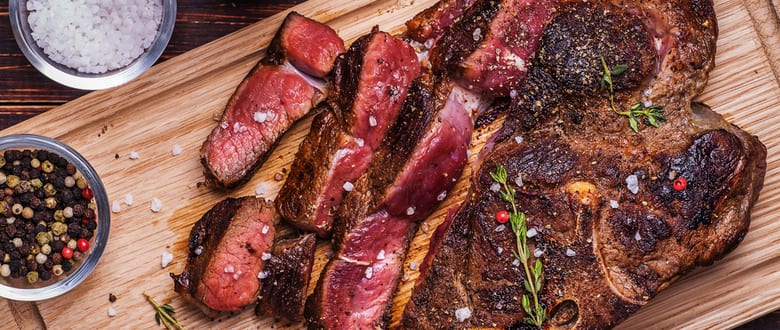
There are a lot of myths out there about whether or not searing meat is helpful or harmful for your cooking aspirations. Here’s our take—searing meat is essential for cooking with the perfect blend of texture and savory flavor.
Searing your meat gives your dish a satisfying and flavorful outer layer that is vital for most authentic Cajun recipes. Whether you’re cookin’ up a rice ‘n’ gravy, or just slow-cooking a roast—chances are, the recipe calls for a well-executed sear.
There’s just one huge pitfall that many aspiring chefs fall into: burning. Overcooking meat is a pain we’ve all experienced and paid for with burnt, chewy food. Be attentive and follow the tips below to avoid this groan-inducing and timeless error.
1. Preheat Your Pan
The key to a perfect sear starts with a pan that is hot, hot!
Placing your meat, especially if it’s cut thick, onto a lukewarm pan is a recipe for disaster. The sear will take longer to form and will be less flavorful by the time it’s complete. If your pan is too cool when you add your meat, the sear will not form properly and it will stick and tear when you try to turn it.
You can typically see that the pan is ready for cookin’ if your oil is beginning to bubble or create a sizzling sound.
2. Always Cook Thick Meats at Room Temperature
Cooking meats straight out of the fridge may be convenient, but the practice will actively hamper your effort to get that perfect sear on your steak or chicken. Leaving the cutlets out for thirty minutes to reach room temperature should do just fine, provided it’s already been thawed in the fridge.
This extra time lets the meat relax, and allows moisture on the surface to be reabsorbed into the muscle. However, If you’re working with an especially thin-cut piece of meat, you may not need to worry about this step. The extra chill can be useful for preventing overcooking or burning.
As a rule of thumb, if your cut of meat or chicken is less than half an inch thick, you can go ahead and throw it right on the pan.
3. Be Consistent
For the best sear, you want your meat to have the same texture and thickness throughout the entire cutlet. Consider using a mallet or a bottle of olive oil to pound the cut into a uniform thickness before placing it onto the pan.
This also helps break down the fibers and muscle of the meat, for a faster and easier cook.
4. Aim For A Brown Sear
Start by placing your meat into the pan fattiest-side down—or in the case of chicken, skin-side down. Unless you’re seeing smoke, don’t move the meat! Let it sear undisturbed for a couple of minutes and it should naturally curl and lift off the surface of the pan as the tasty sear forms. Once one side is finished, flip it and repeat for the opposite side and ends.
You always want your sear to be a uniform, picturesque brown. If your sear starts to look black, take it off the pan or flip it as soon as possible!
5. The Open Is Your Friend
Just because your sear is a perfect brown, doesn’t mean that the meat is finished cooking through—especially when it comes to thick cuts of meat. Always check the internal temperature of your meat before taking it off of the heat!
If you find that your meat needs more time to cook through, we recommend putting in the oven to finish the job. This allows you to keep a perfect sear while ensuring the meat is cooked throughout.
You can also try putting it in a slow cooker or simmering it on the stove, depending on the recipe!
The Best Sear Calls For The Best Stop
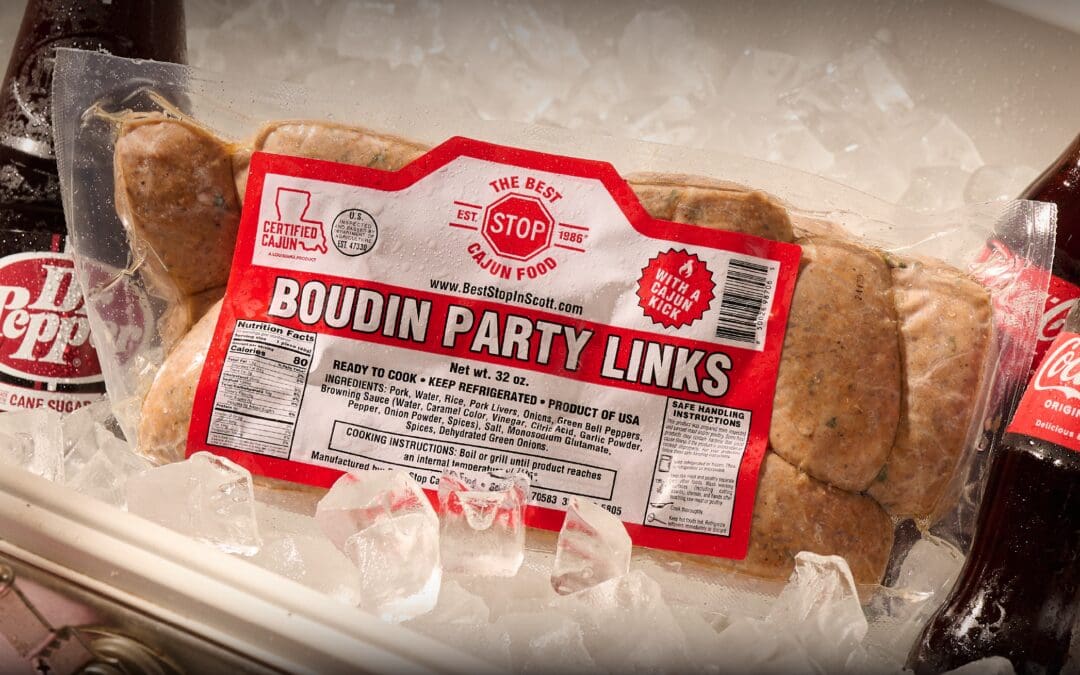
Look at you—now that you know how to cook up the perfect sear you’re a regular Bobby Flay! But being the best chef around means nothing if you don’t have quality ingredients. Fortunately, we know how to prepare the best meat. If you’re in the market to put your new knowledge to the test with the best cuts of specialty meats in Acadiana, look no further than The Best Stop in Scott, Louisiana.
Is Louisiana too far away? Don’t worry—we ship our award-winning products around the nation!


